I finally got around to making my "quality check" pair of adaptive pants for the organization "Sew Much Comfort". As you may remember, this organization seeks volunteers to sew clothes that wounded veterans can easily put on and take off over medical "devices", such as casts and braces.
In general, they went together well, but it is a little bit unnerving working on a project that you know is going to be judged by experienced sewers...
As you can see from this layout, the adaptive pants have one "normal" pant leg and one extra wide pant leg to accommodate a medical device.


Next they ask you to attach their label on the center front of the pants.

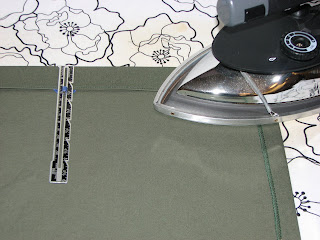
Then, you form a facing on the two sides of the adaptive leg by folding and pressing the fabric.

Next, you make the casing for the elastic waist band,

insert the elastic and attach near each end.
The next step is to add hook and loop tape along the two edges of the adaptive pant leg. The instructions describe the "x in the box" stitching method to reinforce the hook and loop tape at the top and bottom.

The instructions direct you to put the soft (loop) tape on the inside of the front pant leg and the rough (hook) tape on the outside of the back pant leg, so that this opening doesn't show from the front.

and a snap. (Sorry for the blurry picture.)
My husband graciously modeled these 'shorts' for me (even though they aren't really a good fit for him.)
 They seem pretty long for 'shorts' to me, but the instructions specify a 15 inch inseam measurement.
Back view - you can see the seam on the adaptive pant leg.

Not very exciting, but I guess that's kind of the point - nothing fancy, just ordinary looking clothes that veterans can actually put on over casts and such.
I'll let you know whether or not I pass my quality check. Keep your fingers crossed for me!


0 comments:
Post a Comment